Head sculpting
It's been a
rather long time since my last post! A variety of life events swinging like a
pendulum between good, bad, ugly and good again pulled me away from my creativity for a
while and I even fell out of love with dolls for a time. For some reason I
judged them, or rather myself, as being childish, 'not proper art' - whatever
that means. But I've come back, and I feel more at home and content in myself
for having done so.
I've set
myself a challenge to work only on heads until I reach about 50 heads. The
point is that practice makes perfect as everyone knows, so I'm working on that.
I found
that when I tried to make a whole ball-jointed doll from scratch, it was quite
challenging! Although I’d done a bit of sculpting on my degree, I’d never done
anything jointed, where parts are so dependent on each other. I found myself spending
so much time sanding or shaving down, then re-building, then sanding down
again, then remodelling, then sanding again - that it was driving my crazy!
So I’m
going back to basics. First, getting happy with the head sculpts, then I'll
focus on practising other body parts to ultimately put them all together.
This is
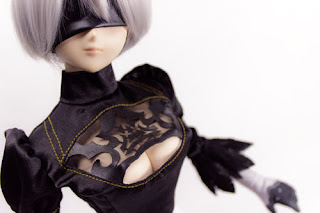
head #1, at sculpted stage, and sanded. I'm using Apoxie polymer clay which I mentioned
in previous posts and I think is fabulous.
As I won't
be casting this head, I've gone ahead an spray painted it with about 4 thin
layers using Montana Acrylic spray paint, which I bought from an art shop.
(Sorry about the blurriness - it was late!)
Next for
the blushing. As I don’t have any Mr Super Clear Matte Varnish spray, I've opted
for Citadel Purity Seal as a substitute. It says Satin Finish on the can but to my relief it's come out more matte than I expected.(Sorry about the blurriness - it was late!)
Another spritz of varnish spray tomorrow and some more blushing to follow!


Comments
Post a Comment